
NOTD: Catch the Bow Tie

This is probably one of my most favourite NOTDs to date, not just because it’s quite time-consuming and therefore comes attached with a sense of accomplishment on completion, but also because I absolutely love the finish.

The base colour is Orly’s Catch the Bouquet which is the prettiest, girly pink. Whilst I know I was supposed to avoid all pink colours when I made my selection from Orly’s permanent collection (more info in my post about Orly’s Cherry Bomb here), I’m so pleased I decided to go for this shade as it’s quickly jumped into my top pinks for nails.

It looks slightly more orange toned in the bottle than it does on the nails; I thought it’d be more of a peach colour but it’s turned out to be more salmon and contains a slight sparkle. It’s kind of like a toned down version of OPI’s Pedal Faster Suzi! which is another pink I love. I’d say this is more of a grown-up shade, thanks to less sparkle and more of a nude leaning.

I needed two coats of this shade – probably could’ve gone for three – to start forming an opaque finish, but as was the case with Cherry Bomb, this shade is easy to apply and has a great consistency.

Once nails were dry, I got to work on the water decals which were sent to me by the lovely Yvonne from Hail the Nails to try out. I was a little nervous about them as it’s fair to say they do involve a fair bit of faff, but they’re most definitely doable; even by someone who doesn’t do fiddly like myself.
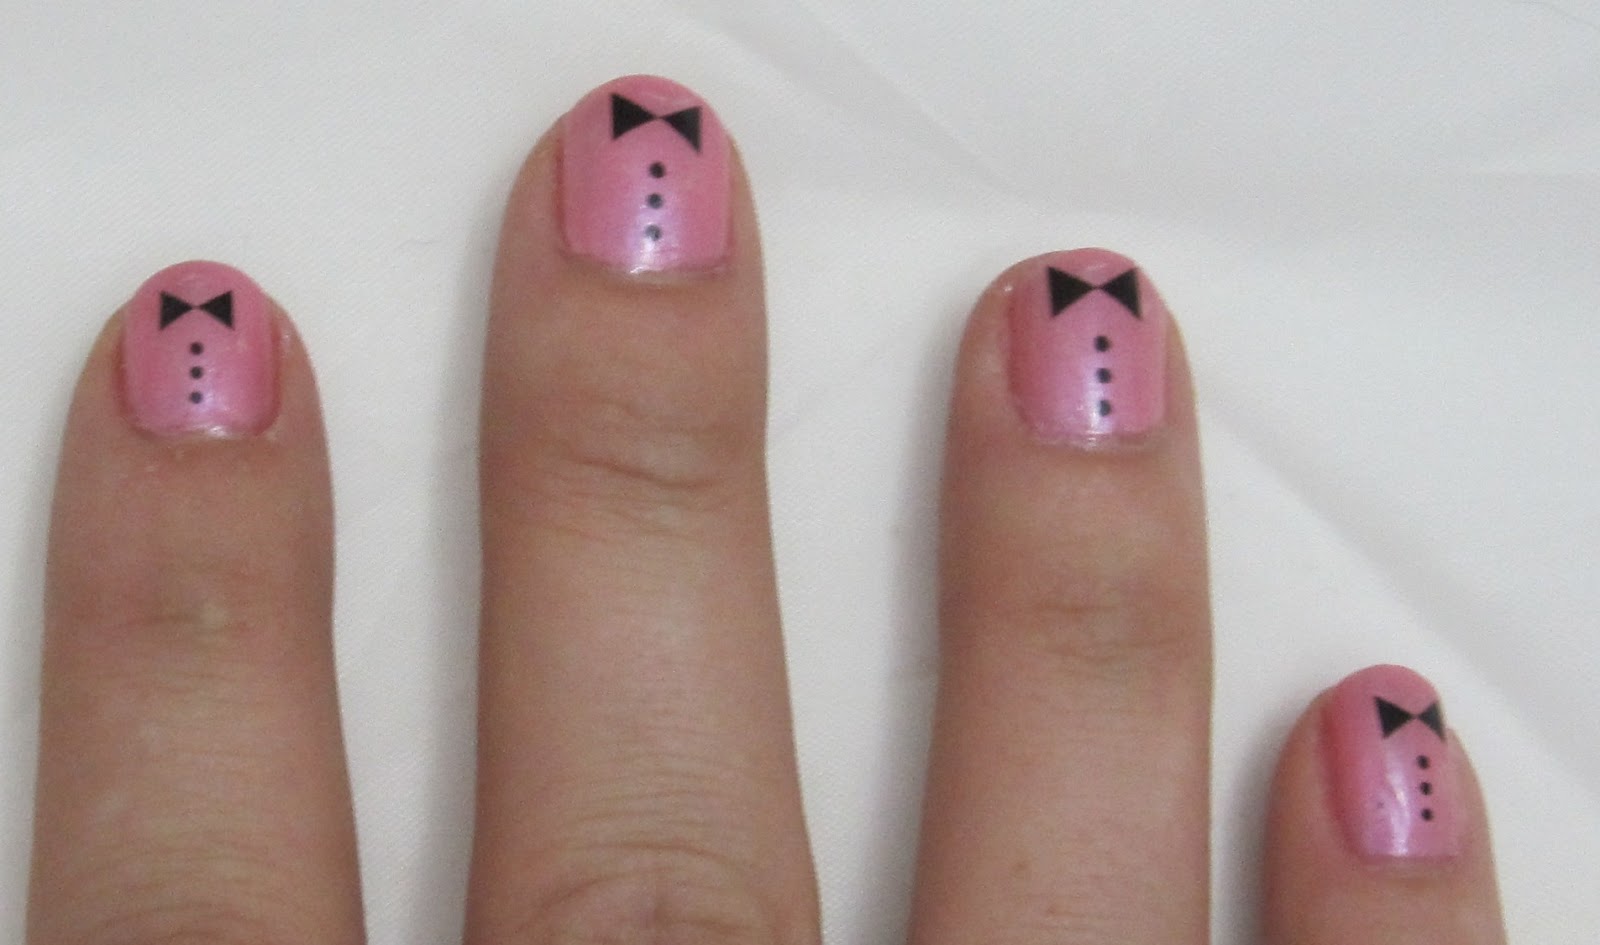
I didn’t smooth down the decals as smoothly as I should’ve, so there’s a little bit of lifting on two of them and you can see the outline if you’re really looking for it. It’s worth noting that the pictures taken are in a very bright, photography light, so they’re going to pick up every little detail. In normal light you can’t see the outline at all.
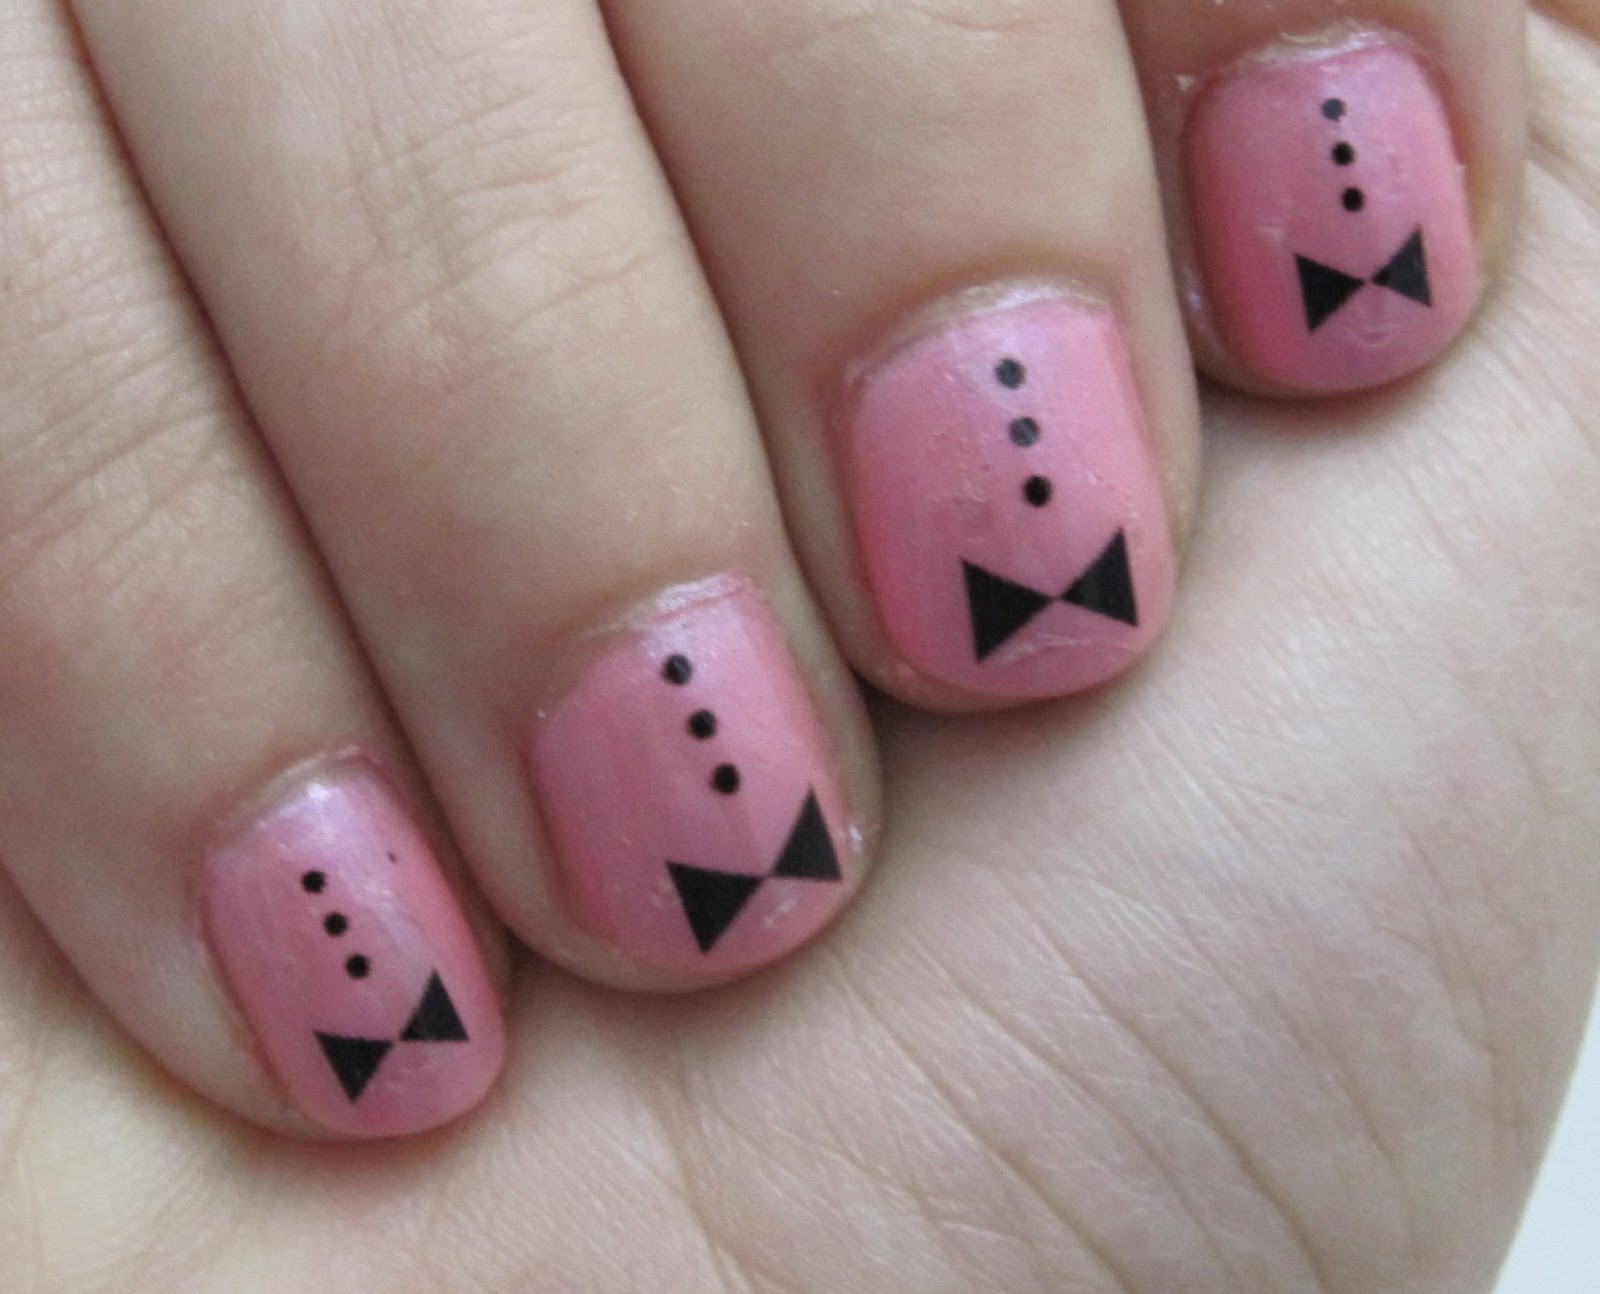
I’m not going to go into too much detail about my experience with the decals as I’m going to write a separate post detailing a few tips I picked up and showing off some of the designs. I was sent a few different designs to try, but as soon as my nails were dry from creating this look I went online and ordered five more. I love them!

Once the decals were on, I applied two coats of Nails Inc Kensington Caviar Topcoat and the look was complete. I decided to place the bow ties with the bow itself sitting at the top of the nail as I quite like looking down and seeing them in all their glory. I’m really loving this look and will definitely be experimenting more with decals soon; I’ve already got plans for my graduation nails and for the Olympics!

The bow-tie decals (S) used in this NOTD are available here priced at £1.99 for 20, but if you’re heading there now then prepare to be distracted as there are a lot of amazing designs on that page. Orly’s Catch the Bouquet (S) is available here for £7.99 and Nails Inc Kensington Caviar Topcoat (S) is available here for £12.

Eeep! These look awesome! I think I’ll treat me to some decals soon. Thanks for sharing my lovely!
x
Thanks lovely! They’re really great and so cheap! I’ve ordered a load more in different colours so I can’t wait for them to arrive xx
Nice!
i follow you on bloglovin, follow me back? xx
Thanks Laura, I’m now following you xx
love this manicure. very delicate and elegant.
liloo /@tsunimee xx
That’s a really great way of describing it, thanks Liloo! xx