All I’ve ever really heard about at-home gel kits is horror stories about being stuck with gloopy, untidy paint jobs, ruining your nails and having to get a pro involved to remove the polish, so consequently, I’ve never really felt the desire to try a kit myself, surprisingly! The fact that I’m really not great at painting my own nails only added to my belief that combining me and a gel kit was going to end in disaster. I then received the press release for the newest Red Carpet Manicure collection (Escape to Paradise) and as it was filled with gorgeous, summery brights, I felt it was finally time to try a gel kit and see how I got on…what’s the worst that could happen?
Turns out that it’s absolutely brilliant, and if you’ve suffered similar fears and doubts about at-home kits, then let me reassure you that they are nothing to be afraid of; in many ways they are no different to traditional polish in that you can tidy up mistakes really easily (just make sure you do it before curing – the process that speedily dries the polish to a rock solid finish), the paint is roughly the same consistency, so it isn’t tricky to paint, I didn’t find it all especially fiddly as other reviews of gel kits have suggested and I didn’t even have a particularly hard time with the removal.
There were several, huge selling points for me, starting with the removal of uncertainty; with traditional polish, I’m never very confident it’s completely dry, whereas with gel kits, the moment you finish your application you are good to go and carry on as normal. I’ve had nails that keep breaking recently, but having the gel polish on allowed me to grow my nails to a really good length without any breakages as the strong polish acts as a protector, and whereas I used to bash my nails all the time and know that the result would be a break, you can really put your nails through some heavy duty stuff without impacting either the polish or the nail itself.
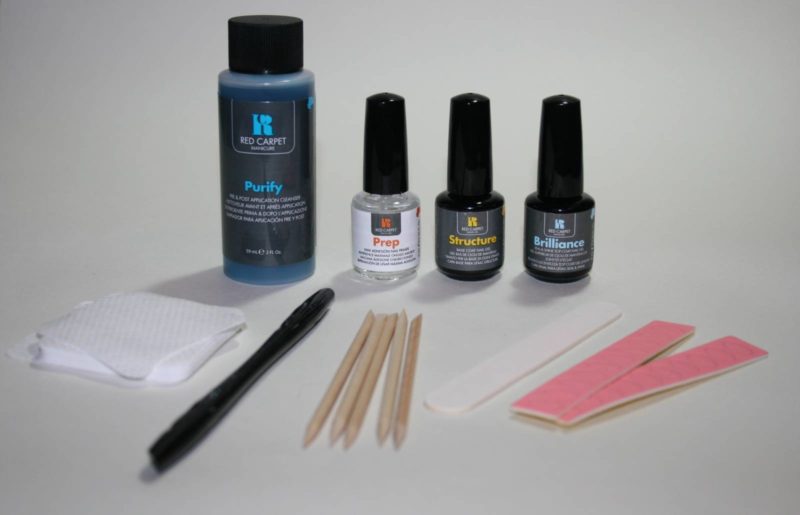
The process involves getting your nails ready (file, cuticle work etc) then giving them a buff to roughen the surface and give the polish texture to adhere to, before getting nails really clean and free from oil. Then the painting process begins, starting with a base coat which you cure – this involves placing your fingers under the light for 45 seconds – then applying the first coat, curing, second coat, curing, then top coat and the final cure. You do the fingers first, then the thumb and obviously if you make any mistakes or go onto skin then you tidy-up before curing. Once the final cure has occurred, you give nails a wipe to remover stickiness and you are left with impressively glossy, completely dry nails.
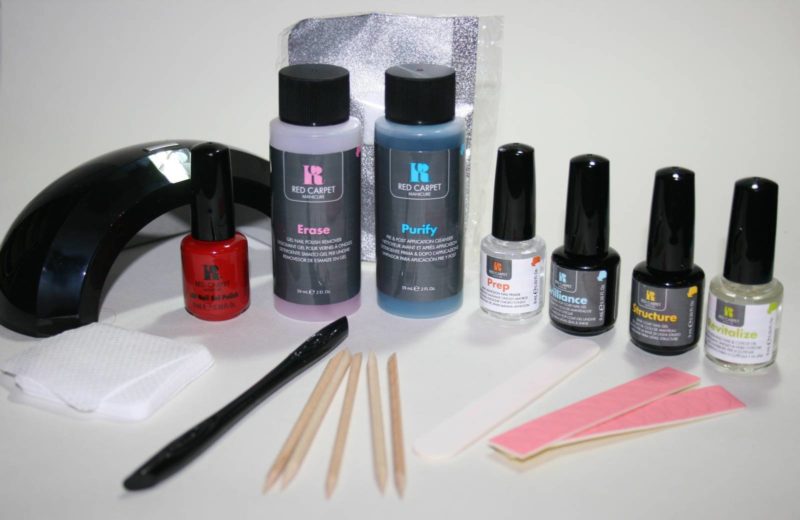
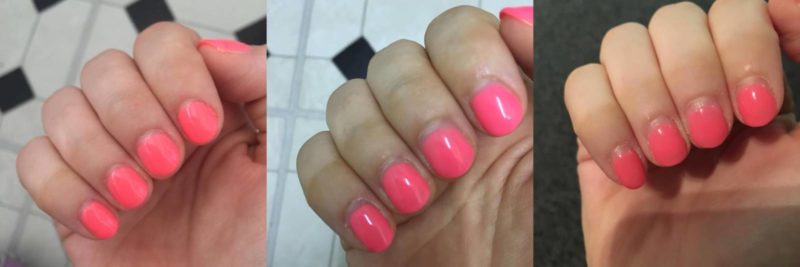
I started my nails at 1am (as you do) and I was done by half past. The great thing about the Red Carpet Manicure set is that it contains absolutely everything you need – literally every step is taken care of so you don’t have to add anything yourself. If you’re a nail fan then chances are you’ll have most of the tools in your kit already, but I still think it’s worth paying an extra few pounds to get the full shebang with the pro light as I have found it so easy to use and I could not have been more impressed with the results. Obviously my paint job wasn’t perfect, but certainly neat enough for me to keep them on for over two weeks – in the above picture, the left image is immediately after application, the middle is roughly a week later and the right picture is just over two weeks later. I could not believe how the polish stayed not only shiny and juicy, but also chip and wear free for the whole time; the only way you could tell the age of the manicure (other than my *terrible* cuticles) is by the growth of the nail underneath, which is obviously unavoidable. I’m getting my nails done this week, mainly to get my cuticles tidied, then I’ll be giving myself another RCM manicure with one of the other new shades, so keep your eyes on my Instagram if you want to see the result! The Red Carpet Manicure kit with Pro Light is £89.95.
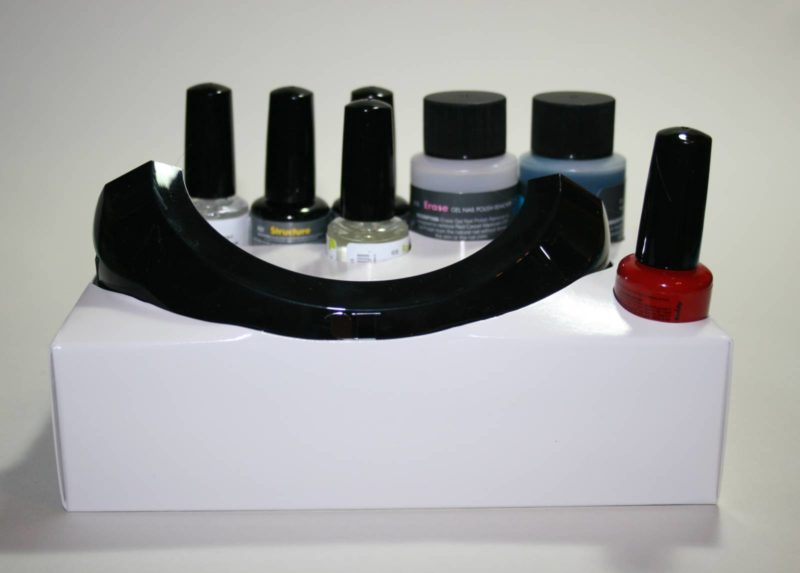
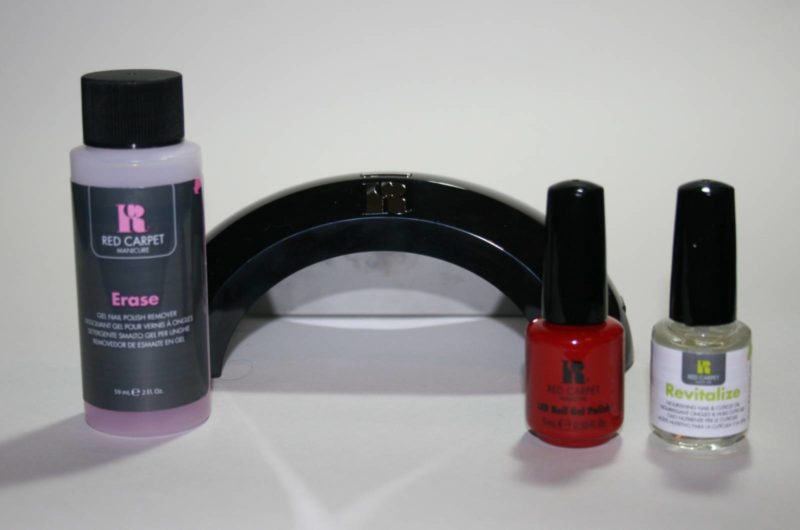
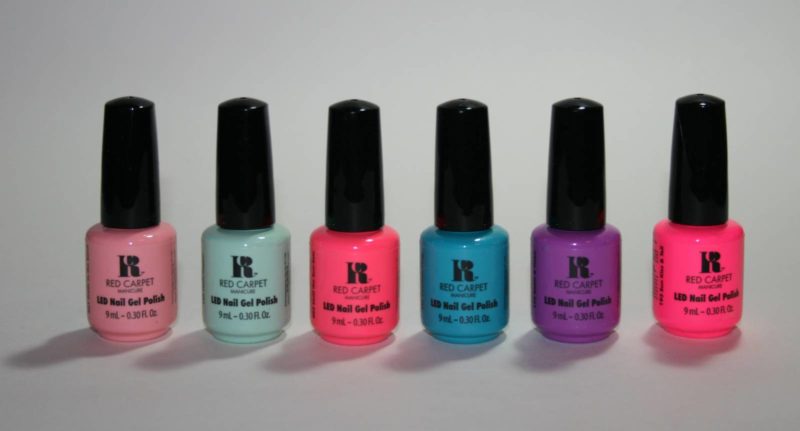
Here’s a little look at the Red Carpet Manicure Escape to Paradise colours, of which I’m wearing the Until the Sun Sets shades above, and I’m hoping to get these swatched and cured soon to show you the colours in more detail. As you can see, they are a perfect example of a Summer collection with a real Ibiza vibe; you can find the full Escape to Paradise collection here. Two things I will mention is that this particular kit doesn’t come with any kind of storage for the kit, which is a shame as there’s a lot in the kit, so it’s worth ensuring you have something suitable to store everything in if you’re planning to purchase. Finally, the removal process is pretty simple, you just have to allocate some time to it; again, the kit has everything you need, and it’s a case of soaking the supplied cotton in polish remover – the cotton is attached to foil which you wrap around your fingers and leave for 15 minutes, before removing, and scrapping any residue with a supplied wooden stick. You then buff nails and you’re done! I didn’t find the quality of my nails were impacted by having gels on for two weeks, as they looked fine afterwards. I also found it a lot easier to do each hand separately, but if you’re more dexterous than me then I’m sure you’ll manage both at the same time!
*PR Samples

They look really good! Bit expensive for me, maybe if they were in the 20% off sales I’d be tempted! Xx